Saturday 29 September 2012

Start Drawing - Art Dice

Source: http://tinkerlab.com/2011/03/art-dice/


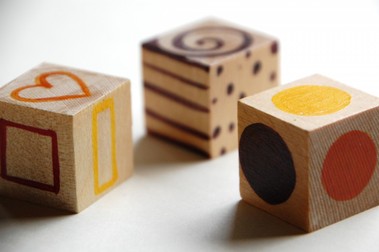
I recently found this tool for creating art on tinkerlab.com.  Art dice offer the perfect solution for students who fear the blank page.  Using these dice can also work as a method to introduce or explore shapes, line, texture, colour, and other drawing skills. 

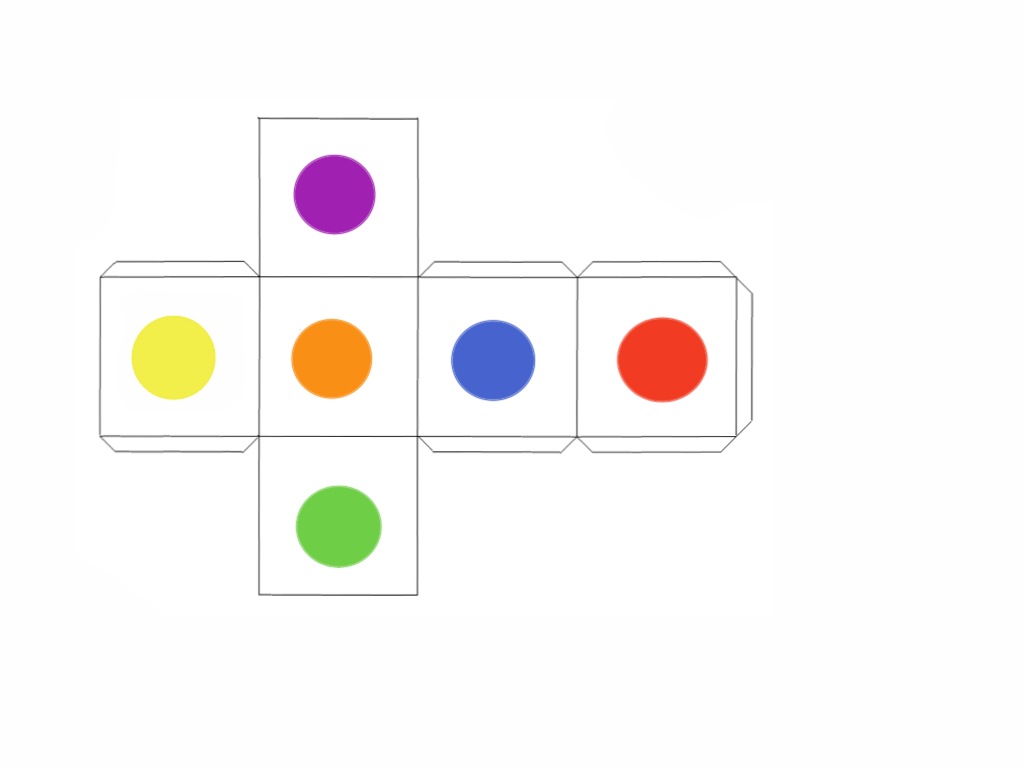
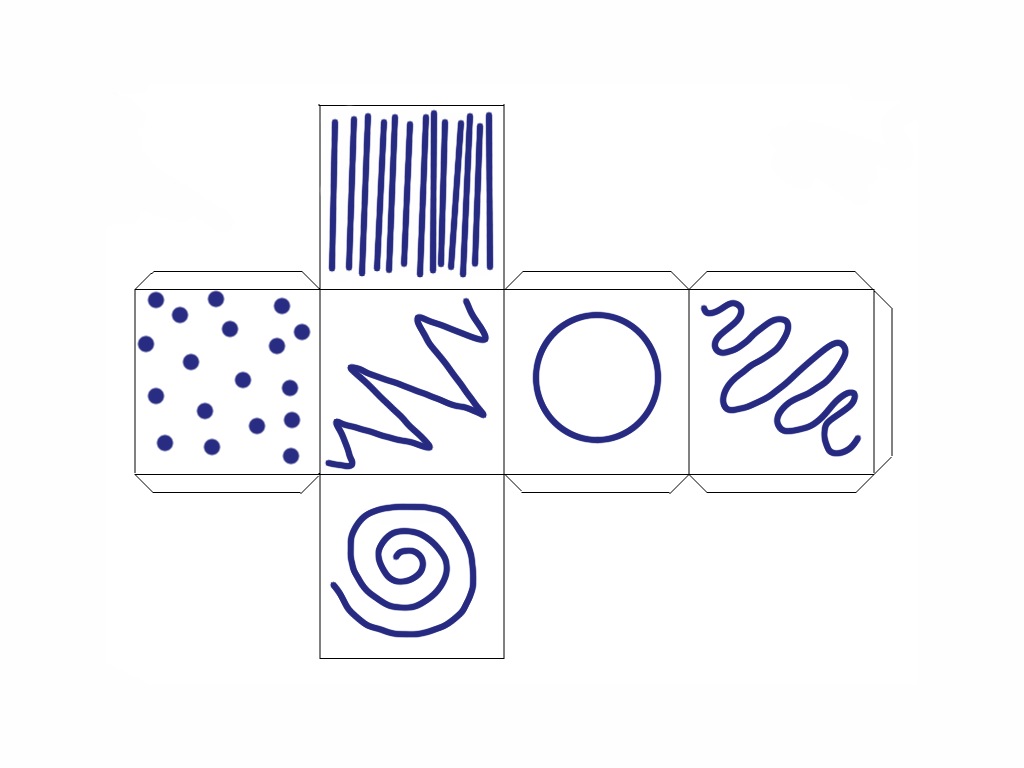
I couldn't find wooden blocks so I created some printable paper art dice templates that you can download by clicking on the links for Colour, Line, and Shape Dice.  

Have fun drawing!


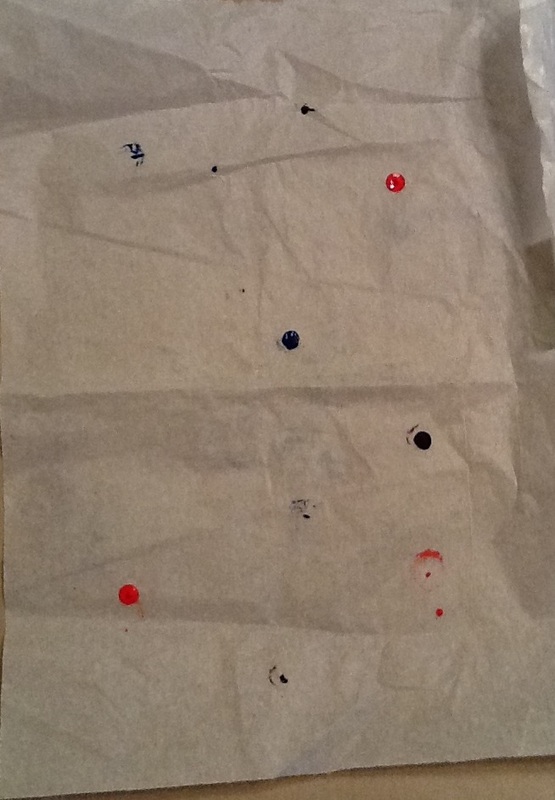
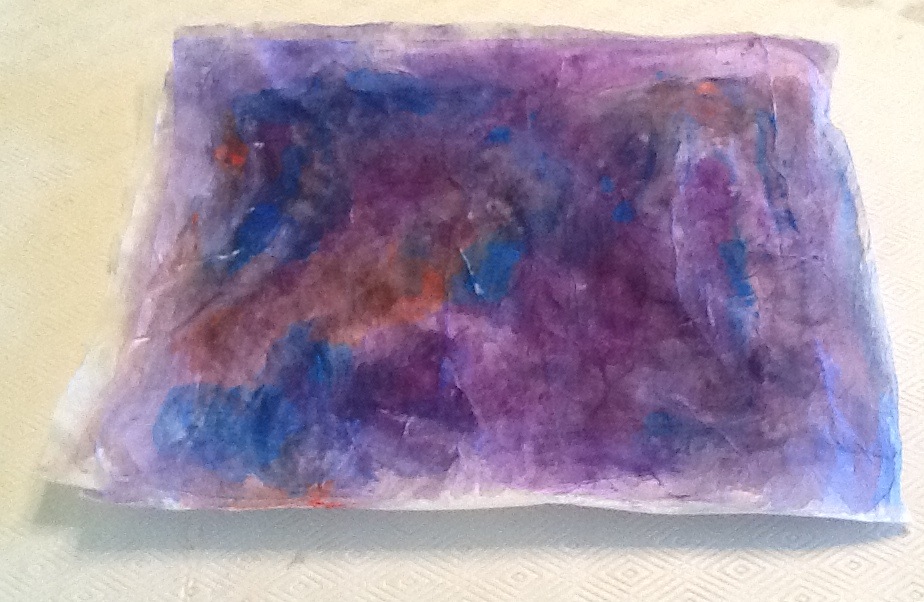
Looking for another easy way to create art and introduce students to different art materialsCheck out my mixed media mystery art post.


Wednesday 26 September 2012

The Color Run

I think this would be so much fun as part of a P.E. class.
This is a 5 km run and at each km runners are covered with a different coloured pigment.


Tuesday 25 September 2012

Art & Poetry-Andy Warhol


Andy Warhol, Marilyn Diptych 1962 Source: artchive.com


One of my favourite ways to introduce students to poetry is by combining it with art.  I recently used the poem It's Me! by David Harrison found in Heart to Heart: New Poems Inspired by Twentieth-Century American Art to teach students about the importance of punctuation and line breaks when writing poems.  In this case, Harrison's poem is written in response to Andy Warhol's Marilyn Diptych.  Each line of the poem represents a different Marilyn claiming to be authentic - a great way to discuss the themes of celebrity and mass production in Warhol's artworks.

To emphasize the importance of poetry being read aloud, have 3 students from the back, middle, and front of the classroom alternate reading lines of It's Me.  I colour coded the poem to make it easier.  It may take a few tries before students will 'shout' the exclaimation points, but I've found that once they do, students become engaged with using punctuation and line breaks when writing their own poetry.


Monday 24 September 2012

Art Room Displays

I thought I would share a picture of some my displays from the art camp I taught this summer.  It was pretty awesome turning a boring grey box - as you can tell from the picture the walls and carpet were literally grey! - into a more colourful and inspiring art space for my students.

Art Intertwine - Art Room


Saturday 22 September 2012

Answers To Artist Quotes

A week ago I posted about using artist quotes to engage students in lessons.  
Here are the answers to the quote match ups. 

Surprised?  What's your favourite quote by an artist?

 
"I found I could say things with color and shapes that I couldn't say any other way--things I had no words for"
-Georgia O'Keeffe

"Only when he no longer knows what he is doing does the painter do good things"
- Edgar Degas

"The painting has a life of its own. I try to let it come through" 
- Jackson Pollock

"Creativity takes courage"
-Henri Matisse

"I sat staring, staring, staring - half lost, learning a new language or rather the same language in a different dialect" -
Emily Carr

"I shut my eyes in order to see"
- Paul Gauguin

"Painting is just another way of keeping a diary"
- Pablo Picasso

"I sense a scream passing through nature. I painted ... the clouds as actual blood. The colour shrieked"
  - Edvard Munch


Friday 21 September 2012

1 Lesson 3 Ways: Stained Glass Windows


If you think that doing art based lessons in your classroom requires expensive materials think again! For this lesson the materials are basic and require little technical know how.

In this lesson I offer ideas on how to adapt a stained glass window activity for K-12 students.  


 Materials
  • black construction paper
  • rulers
  • white or other light colored pencil crayons
  • scissors or x-acto Knives
  • tissue paper-in white and a variety of colors
  • glue sticks
  • double sided tape
  • paint brushes
  • acrylic paint in a variety of colors
  • water
Choose from the sections below for the lesson that suits your students.


Art Intertwine-Paper Stained Glass Windows
An example using only a few colours

Elementary School Students

  • Start by folding together two pieces of black construction paper in half vertically. 

  • With both sheets still folded use a white pencil crayon to draw a line the width of a ruler on the 3 unfolded sides of one of the sheets.  This will form the border of the window.

  • Next draw geometric shapes that intersect the folded edge.  Make sure to leave 1/2 inch of space between shapes to create a border around each.

  • Mark each shape with an X so you can keep track of what to cut.

  • Using scissors carefully cut out each shape, cutting through both sheets of construction paper.

  • You can use double sided tape to help keep the paper aligned so that your design stays symmetrical.

  • After cutting all the shapes, unfold the pieces of construction paper.

  • Choose a variety of coloured tissue paper for each shape.

  • You can either trace the shapes lightly onto the tissue paper and then cut the paper slightly larger to glue it onto the construction paper OR cut the tissue paper to the approximate size of the shape and trim off the excess after it is glued down.

  • Once each piece of tissue has be glued onto one of the pieces of construction paper, run the glue stick over each of the borders and sandwich the two sheets together.

Paper Stained Glass Windows For Kids
An example made following the lesson for middle school students

Middle School Students

  • Start by introducing students to making stained glass windows using the information under Elementary School Students.

  • After your students have become familiar with creating stained glass windows have them try to move beyond simple geometric shapes.

  • Students need to create images that are symmetrical since they cut through both sides of the black construction paper.  

  • Have students sketch their designs before beginning their windows

  • As students cut out their shapes, have them periodically open the construction paper to make any adjustments.

  • Consider including historical information about stained glass windows.  For example  in Western Europe stained glass windows constitute the major form of pictorial art to have survived the Middle Ages. 

    High School Students

  • Start by introducing students to making stained glass windows using the basic information under Elementary School Students.

  • At this age students can use a x-acto knife to create more intricately detailed designs.

  • Instead of folding the two sheets of black construction paper in half, have students use double sided tape to keep the two sheets aligned while they cut out their image.

  • Consider sharing examples of modern artists who use stained glass.


An example of contemporary stained glass by Marcelle Ferron at the Champs De Mars metro station in Montreal. Image Source: http://www.pbase.com/image/106383646

Variation: Create your own colours
Follow the images to learn how to make multicoloured tissue paper

To create your own coloured tissue paper you need: acrylic paints, a paintbrush and water, and white tissue paper
Make sure that you layer several sheets of the tissue paper together, otherwise it will become too fragile and rip
Start with a few drops of paint and then use the paintbrush and water to create washes of colour. Slowly add more paint as desired
Leave the tissue to dry for a few hours
Paper Stained Glass Windows For Kids
Light shining through the finished paper


Tips and Tricks
Layer sheets of one colour to create a more vibrant colour
Depending on your students you may want to pre cut some designs and tissue paper
Laminate your finished stained glass window to make it sturdy


Wednesday 19 September 2012

Art Teacher Blog Directory

I found this directory on Art is Basic and thought it was such a great idea.  While I already follow some of these blogs I can't wait to check out the others!


Related Posts Plugin for WordPress, Blogger...